 thumbish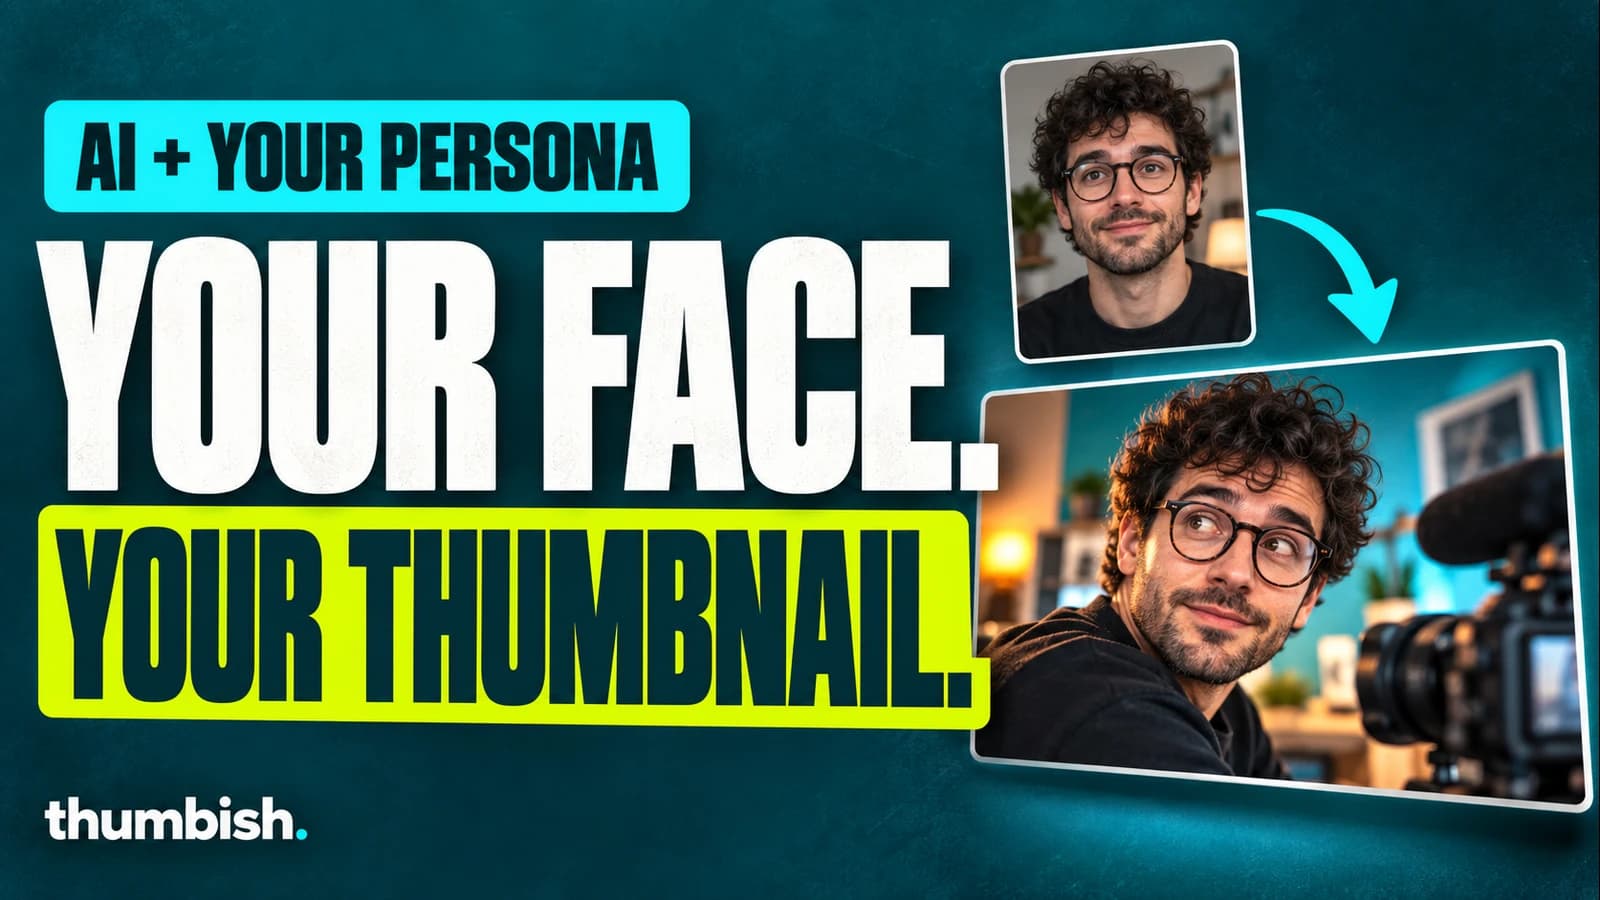
Thumbish can use a persona photo as the identity reference for AI YouTube thumbnails with your own face. Upload the photo in your channel kit, describe the expression and action that fit your video, and add thumbnail references for the design. The persona supplies who to depict; your brief and references supply how the person should appear in the new scene.
A face reference and a thumbnail reference do different jobs
A persona photo communicates recognizable facial structure, features and skin tone. A thumbnail reference communicates layout, typography, effects and staging. Asking one image to do both jobs can create ambiguity: should the model preserve the source portrait’s pose or follow a reference thumbnail’s composition?
In Thumbish, keep those roles clear. Save your face under Persona and design examples under Reference thumbnails. For your own established series, choose My channel. For outside inspiration, choose Competitors. The persona should remain recognizable even when the scene needs a different expression, wardrobe or camera angle.
1. Upload a clear persona photo
Choose a well-lit photo where your face is visible without strong blur or heavy filters. If glasses or facial hair are part of your usual appearance, provide a photo that shows them clearly. A source with an obscured face gives the model less useful identity information.
Open Persona in your channel kit and upload the image. The web studio accepts JPG, PNG or WebP persona files up to 5 MB. Use a photo you are permitted to provide. You do not need to photograph the final action exactly, but a clear identity anchor makes the intended person easier to communicate.
2. Describe an action that belongs to the video
“Put me in the thumbnail” leaves most of the staging undecided. Name the torso direction, head turn, gaze target and one useful action. For a camera comparison, you might look between two cameras. For a software demonstration, you might look toward a real interface screenshot. The gesture should point to the story rather than fill empty space.
If your saved channel references usually use close face framing, explain which example to follow. If they show a particular pointing or holding pattern, identify the object that the hand should interact with in the new image. Preserving identity does not require reusing the source photo’s expression or body position.
Illustrative instruction: “Use my persona with the close framing of reference one. Turn my shoulders slightly toward the camera on the right and direct my gaze to its lens. Use a curious, evaluating expression with relaxed brows and a closed mouth. Keep my round glasses and natural skin tone. Leave the face clear of the headline.”
3. Approve the composition before rendering the face
Review the concept for the person’s position, subject interaction and text clearance. If the scene calls for holding a prop, check that the action is simple enough to read. A face, several products, a complex hand gesture and a long headline may compete for the same small frame.
Choose Flash or Aura and Low, Medium or High quality before approving generation. Free includes Flash Low and Medium; paid plans unlock Aura and High. Flash generation costs 10, 20 or 30 credits; Aura costs 20, 30 or 40. The cost covers the new image, while concept work and chat use their own credits.
4. Inspect likeness, expression and physical details
Look first at whether the person is recognizable. Then inspect the eyes, glasses, hairline and skin tone. Review expression separately: a familiar face can still communicate the wrong emotion. The reaction should match the video rather than default to shock or an exaggerated grin.
Check hands and the objects they touch. Fingers, wrists, grip and contact shadows can reveal mistakes that a small preview hides. If the result needs a targeted change, identify it and state what should remain: “Keep the face, layout and headline. Correct the right hand so it naturally grips the camera without covering the lens.”
Image revisions run directly on the existing generated image with Flash Medium for 10 credits, regardless of the model selected for generation. Inspect the revised result again. AI reference matching can vary, so review every face before publishing rather than assuming the persona guarantees an exact likeness.
Frequently asked questions
Does Thumbish paste my original photo into every thumbnail?
The persona guides identity in a newly generated scene. Pose, expression, clothing and framing can change to fit the brief. Review the result for likeness.
Can I change the expression after generation?
Yes. Request a targeted revision in the conversation and specify the desired expression and what should remain unchanged. Image revisions use Flash Medium for 10 credits.